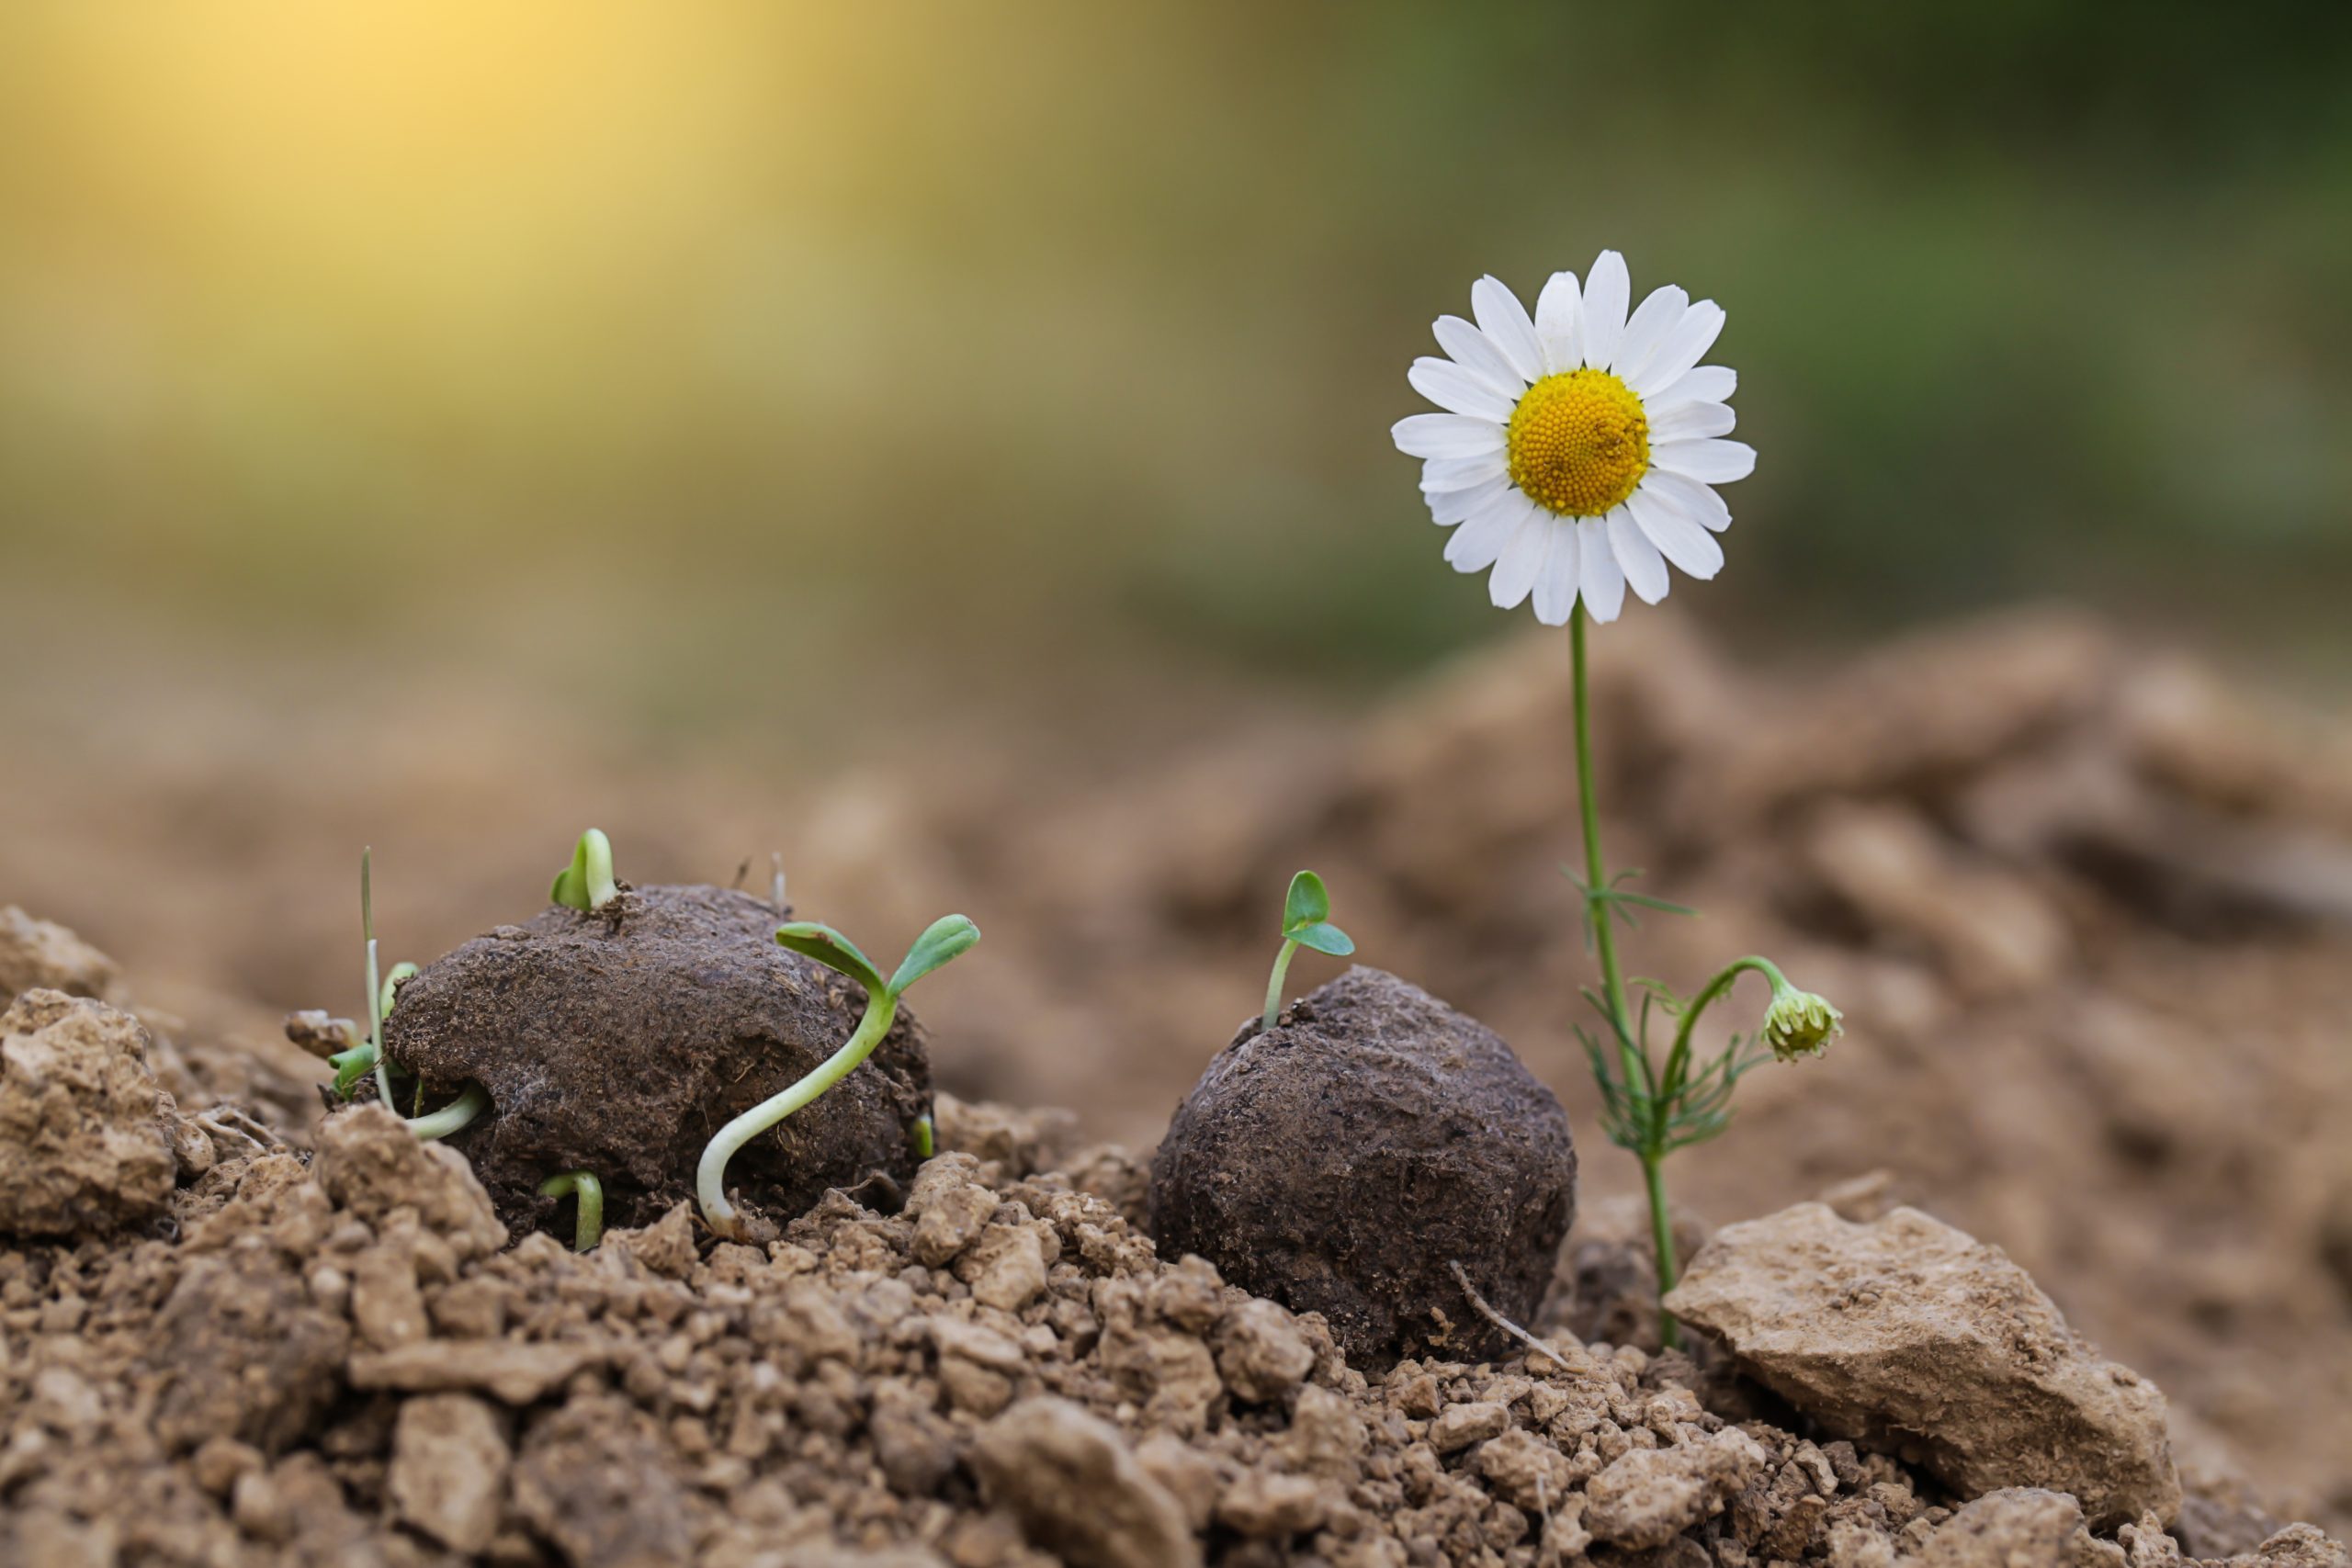
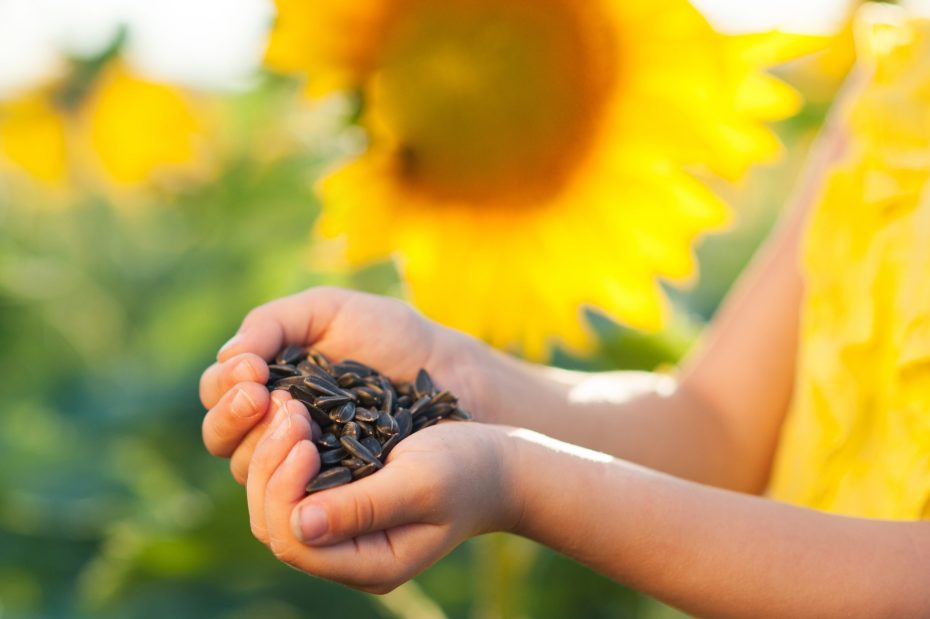

DIY seed paper envelopes are the perfect way to sort and store your seeds or gift them to others. The best thing is – it doesn’t need to cost a cent! You can reuse old paper – think wrapping paper, pages from old books or magazines, office paper, or paper that the kids have drawn only on one side. Let some plants in your garden go to seed and use these for your seed saving envelopes. Saved seeds are completely free!
Start a seed swap!
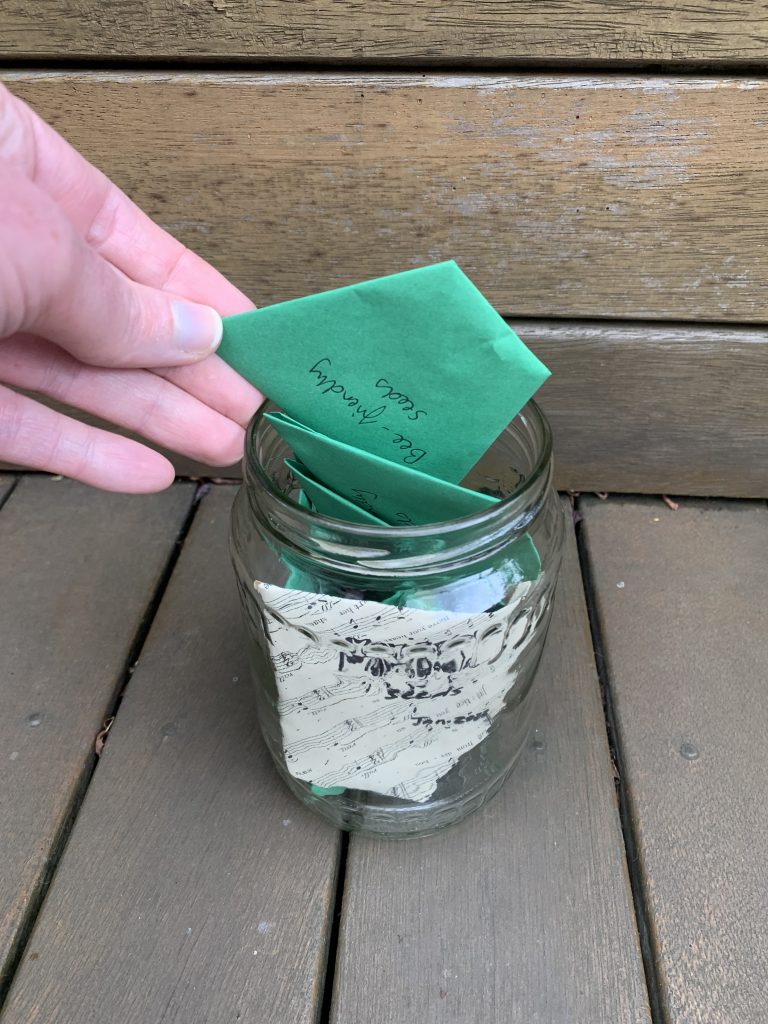
You can also use these packets to seed swap. Seed swapping is a great sustainability activity idea to implement in your early childhood service. It helps foster community connections, people can discover new varieties of plants and produce, increases biodiversity, and saves money by not having to buy seeds. Perhaps you could start a seed packet favour jar for people to choose from when they come to your childcare – it’s healthier than lollies!
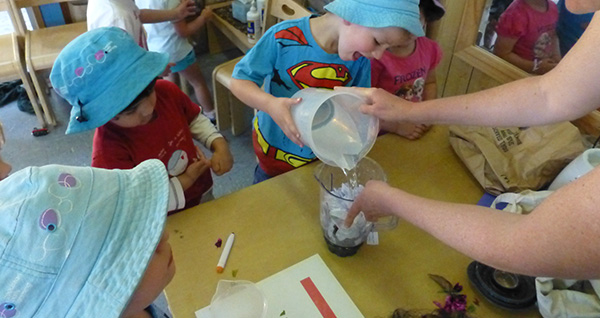
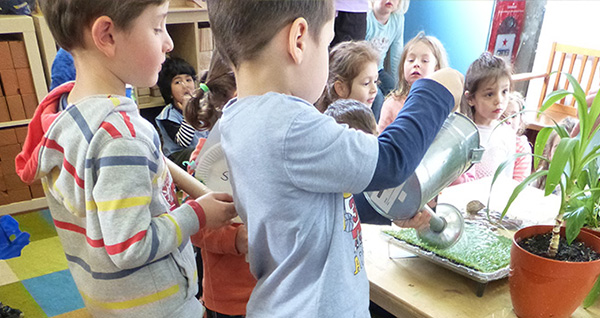
A fun activity for toddler and preschool kids
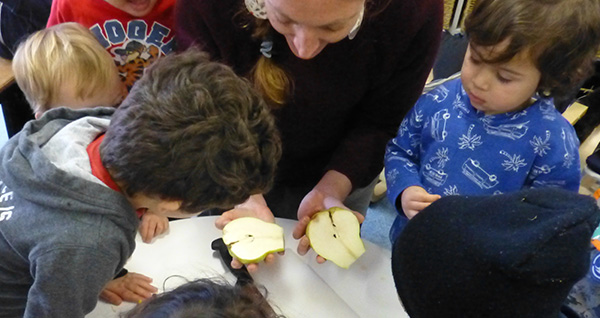
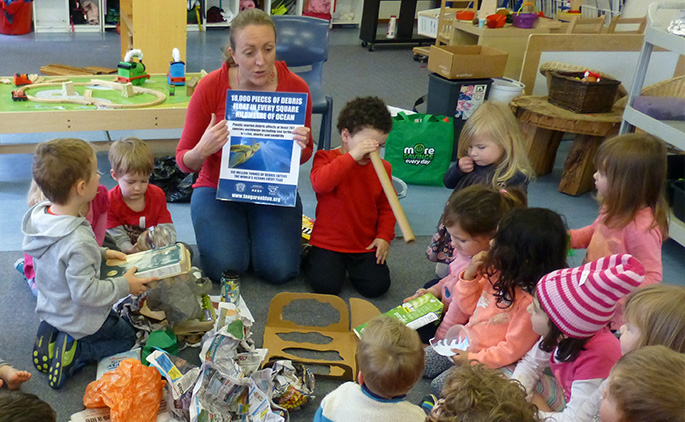
This is a great sustainability activity for toddler to kindergarten aged children with support from parents and/or early childhood educators. It fosters a sense of awareness about the world around them. Encouraging kids to reuse and recycle old materials helps them to learn about and practice caring for the environment. It supports creativity and critical thinking skills.
There are also numerous benefits for little minds to engage in paper folding art:
- It supports motor skills development
- Children learn to follow a sequence of steps to work towards creating the intended shape
- The act of folding paper requires kids to focus and concentrate
- It teaches children about different shapes
- Children observe, ask questions and problem solve which are building blocks to developing scientific reasoning.
Instructions to make your seed packets
Step by step guide
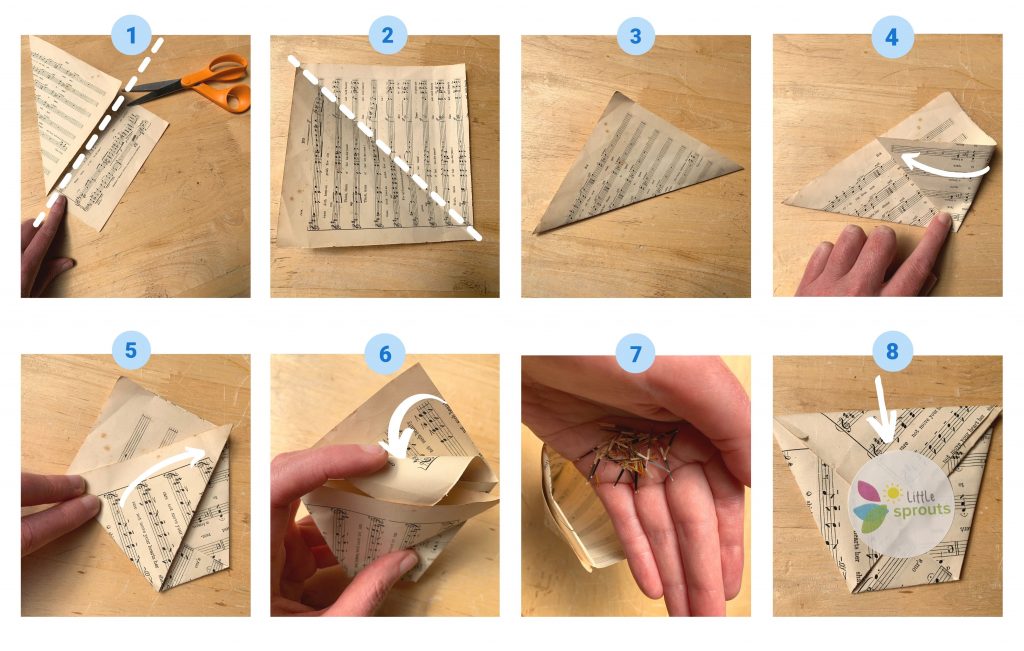
Steps 1-2
Find some old paper. Make sure it’s a square shape. You can easily make a rectangular piece of paper into a square shape by folding one corner of the paper to meet the opposite edge, then cut off the extra paper (see step 1 in the diagram above).
Step 3
Fold the square so it’s in a triangle shape.
Steps 4-5
With the long edge of the triangle closest to you, fold the bottom right corner over to the centre of the other side to form a straight edge at the top. Do this step again for the bottom left edge.
Step 6
Take the first triangle piece at the top that is closest to you and fold this in between the two pieces of paper at the front.
Step 7
Add your seeds into the pocket of the packet.
Step 8
Take the remaining triangle piece of paper at the top and fold this over to secure the contents of the packet. Secure this with some craft glue, paper sticky tape or a sticker. Avoid using plastic stickers or tape to make it easier to compost or recycle the seed packet after use.
Label your seed packet with the plant name, date of harvest and other essential information to help with planting.
Tips for seed saving
If you’re planning on keeping your seed saving envelopes for a while, here’s some tips to ensure your seeds don’t go to waste:
- Make sure seeds are fully dry to avoid rotting
- Store your seed packets in a cool, dark place. Look up the best storage conditions for your seeds – the fridge can be ideal.
Did you try this activity? Share your creations with us on social media!