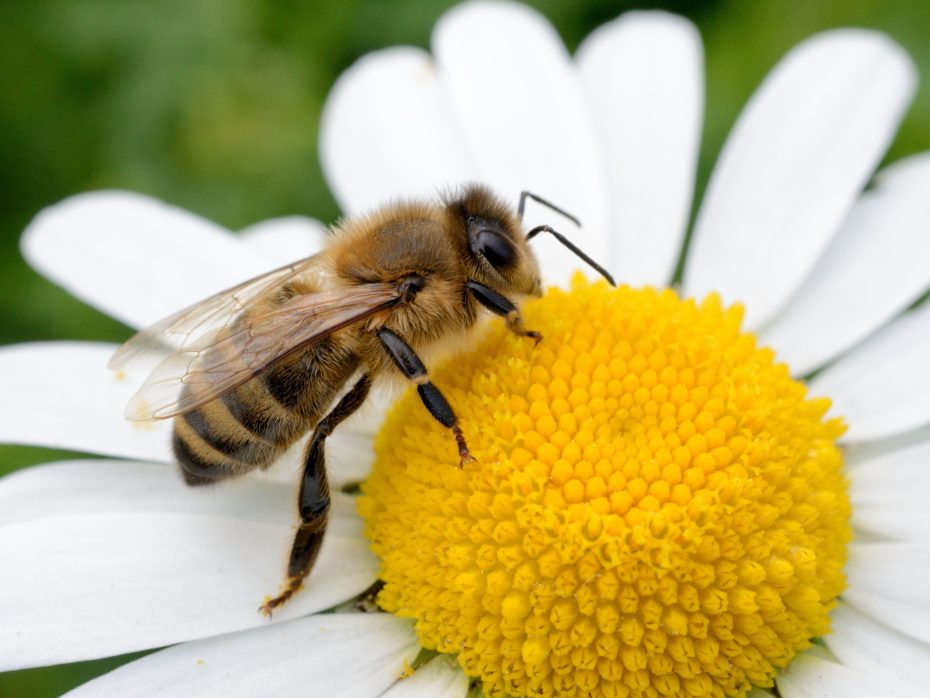

One third of the food we consume comes from pollination
Pollinators like honey bees and Australian native bees are essential, not only for healthy ecosystems but the food we consume. Without pollination, we wouldn’t have food like almonds, apples, blueberries or even (gasp) chocolate! Pollination can occur when animals – such as insects, birds and mammals, visit different flowers, transferring pollen between plants, and helping to produce seeds and fruits.
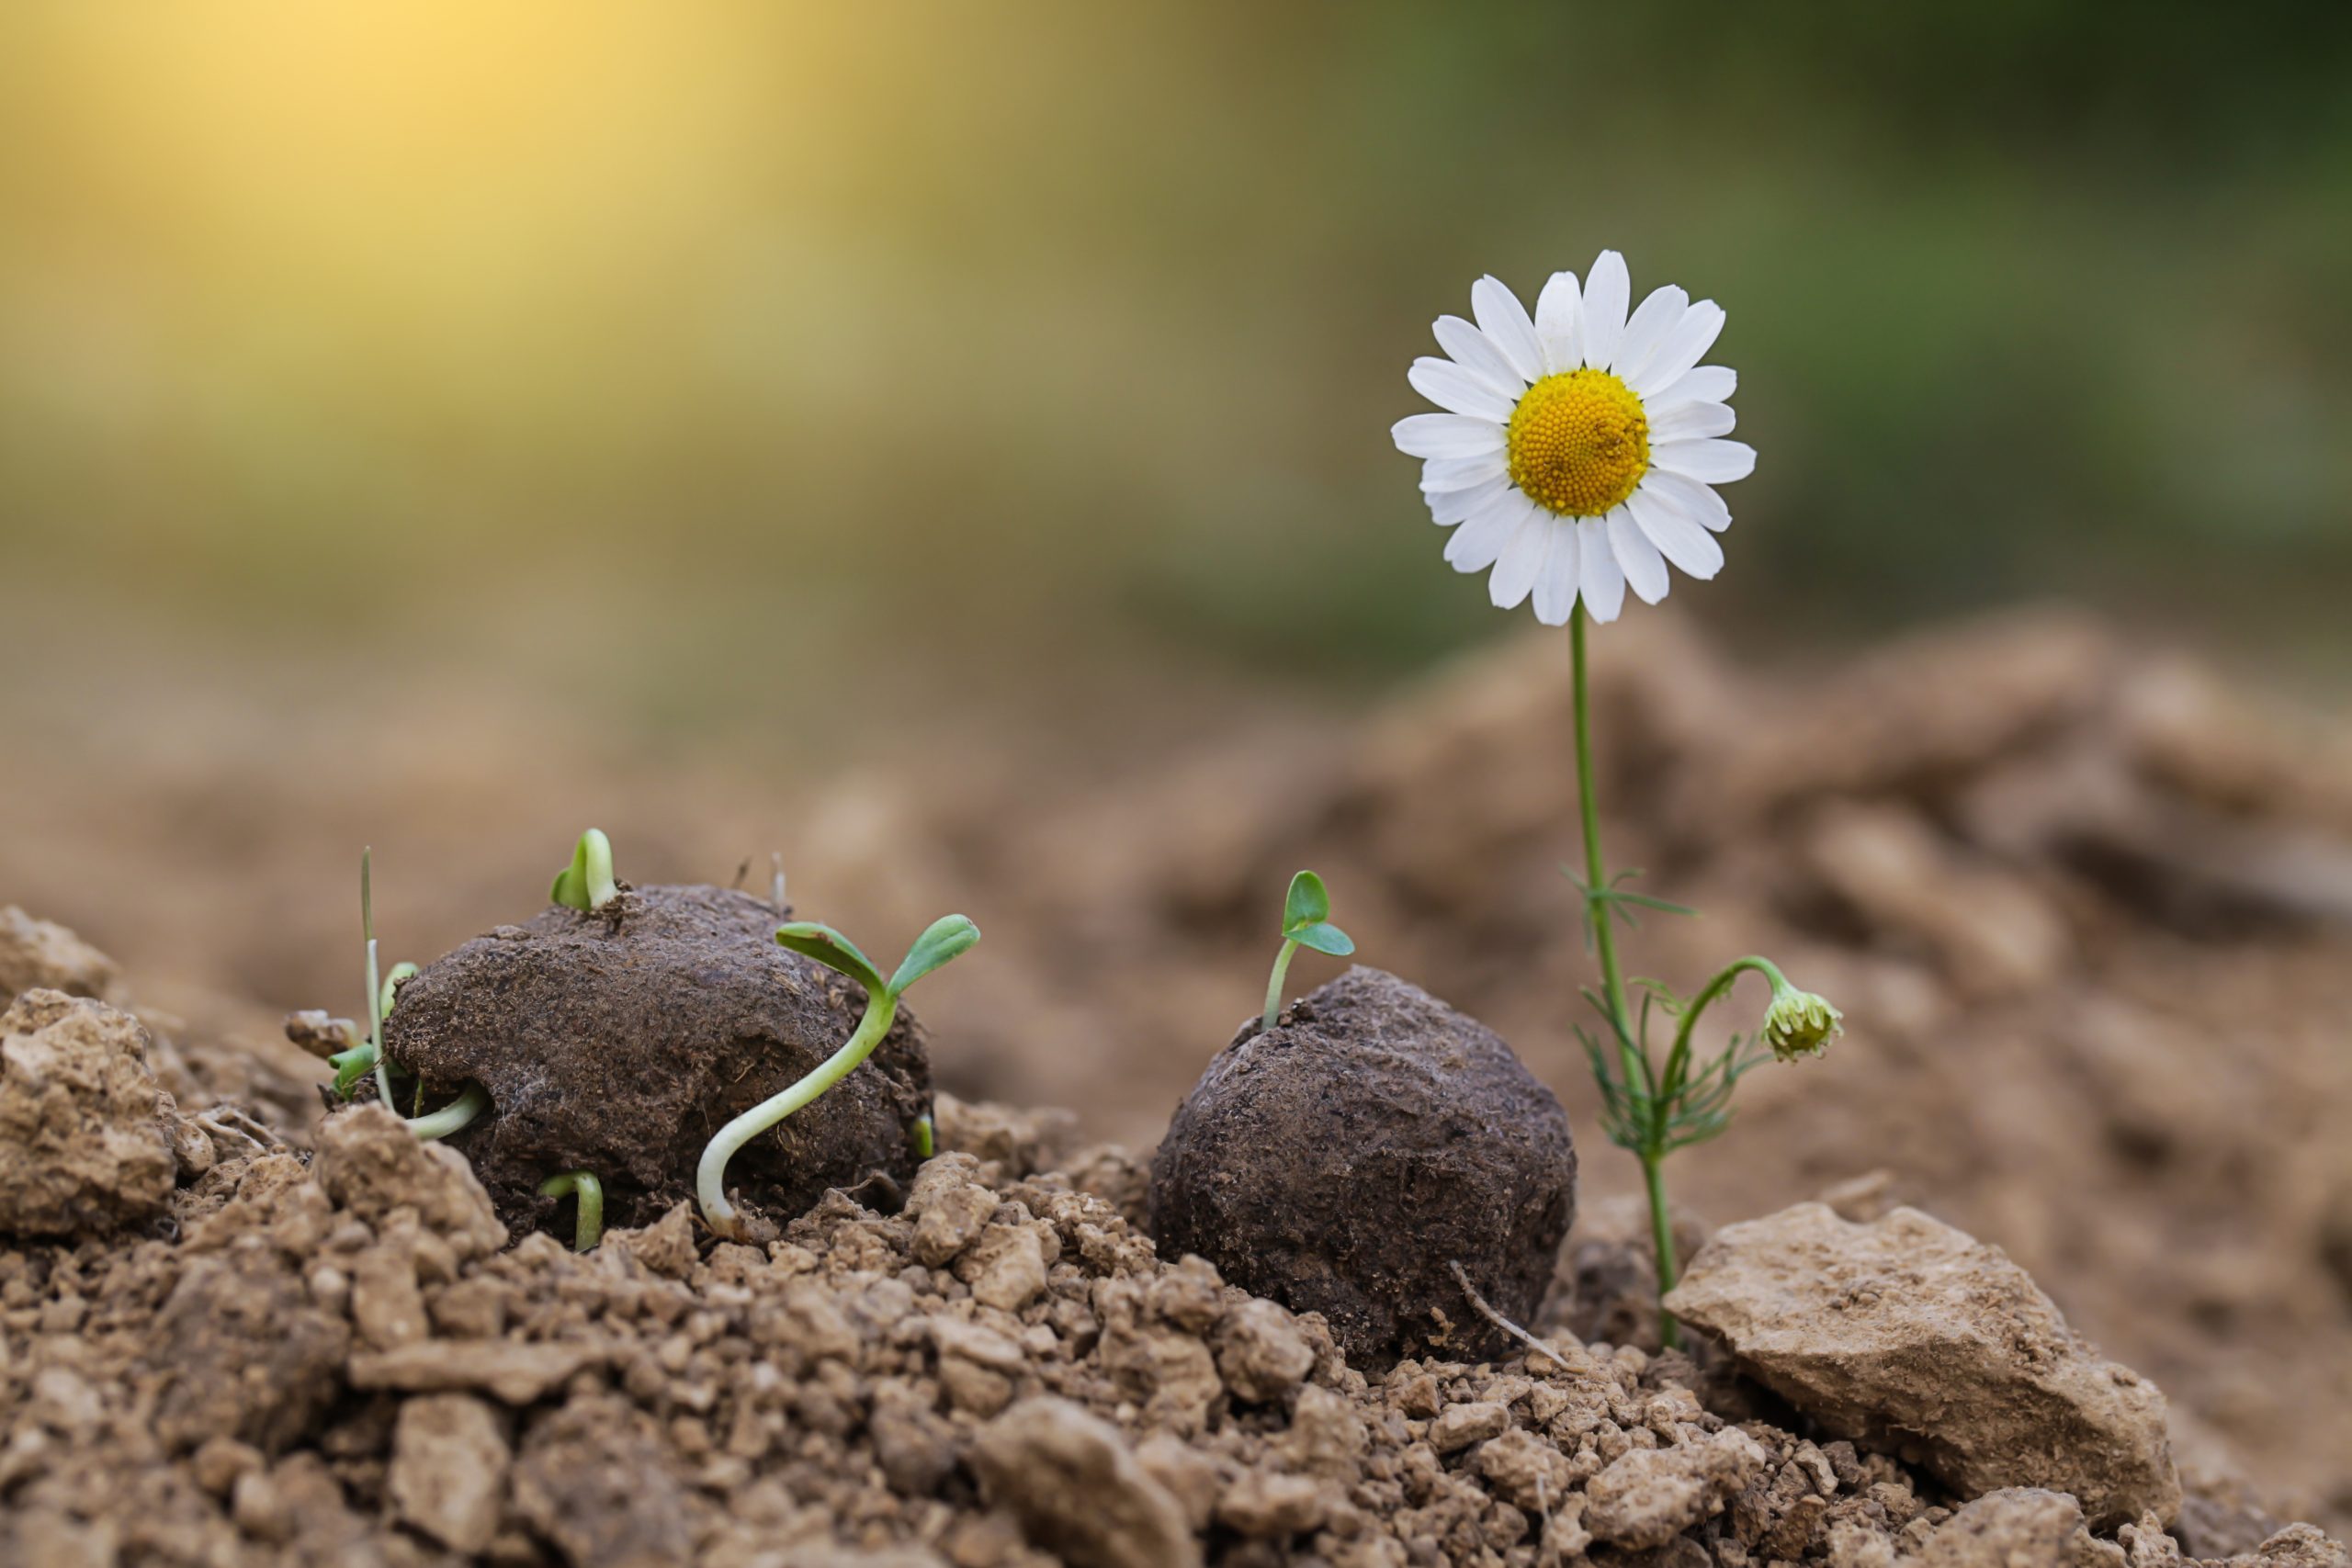
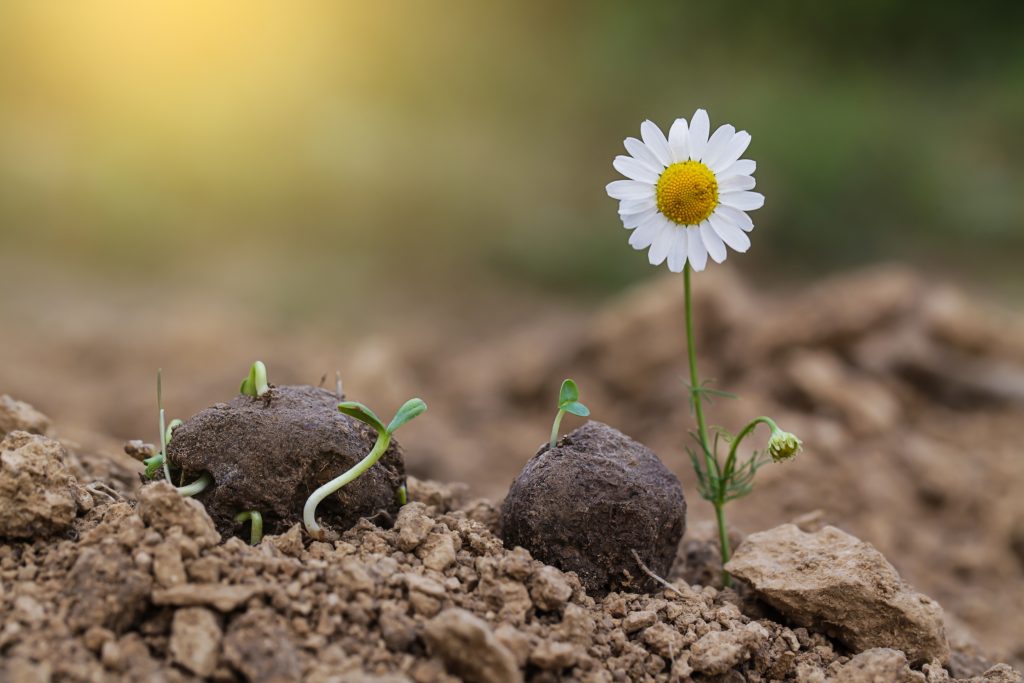
These easy to make seed balls will grow into stunning flowers to attract pollinators to your garden and increase the variety of flowering plants in your local area. This is a great way for children to learn about the importance of pollinators and nature, as well as practice fine motor skills through actions like spooning the soil, and rolling the clay into a ball. The perfect DIY present to make and give to a loved one over the festive season – the gift that keeps giving xox
The practice of making seed balls is thousands of years old
Seed balls, also called seed bombs, have been around a really long time. In Japanese this ancient practice is called Tsuchi Dango meaning Earth Dumpling. The practice is said to have originated from a Japanese farmer and philosopher named Masanobu Fukuoka. He created and dispersed seed bombs on his own farms and found that it was a great way of natural farming, as well as to promote a healthier ecosystem. Seed bombs also had a resurgence in the 60’s and 70’s to beautify neighborhoods.
The seed balls can either be placed directly somewhere in your garden, like a pot or in a garden bed, or they can be dispersed in a suitable place in the wild. They don’t need to be buried. Simply place them on top of the soil and let nature do it’s thing. The seeds will germinate when/if the conditions are right.
Resources you’ll need:
Our Little Sprouts seed balls are fun and simple to make from just a few ingredients.
- Air Dry Clay. Our preferred brand is Crayola Air Dry Clay. It’s got a lovely, smooth texture. You can find this at Officeworks. If you want to make colourful seed balls, get the white clay. Or if you prefer a more natural look, get the terracotta colour.
- Soil or compost. For these seed balls, we’ve used Scotts Osmocote Seed and Cutting Premium Potting Mix from Bunnings.
- A small spoon
- A bowl for the soil and seed mix
- Choose a variety of seeds, for example native wildflowers or flowering herbs. Research local flowers in your area that are loved by Australian pollinators (and are not invasive weeds). Here are the seeds we’ve chosen:
- Thyme (Thymus pulegloides)
- Nemophila ‘Baby Blue Eyes’ (Nemophila menziesii [insignis])
- Swan River Daisy (Brachyscome iberidifolia)
- Sage (Salvia officinalis)
- Calendula (Calendula officinalis)
- Reusable gloves (if dyeing the clay different colours).
- Food dye – your choice of colours.
- A board with baking paper to protect your table surface.
Instructions to make festive seed balls
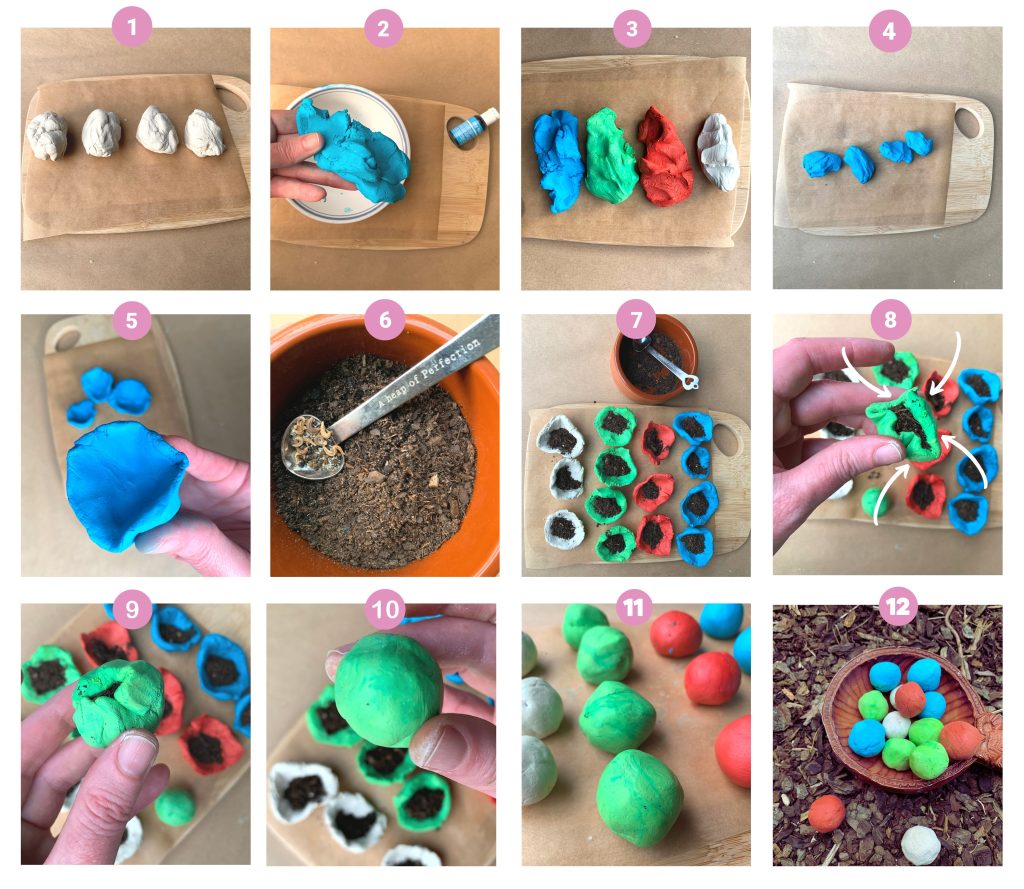
Step by step guide
Step 1
Split your clay into different piles (number dependent on how many different colours you will be making). If you are going with a natural look (terracotta or plain white clay), skip to Step 4.
Step 2-3
Dye the clay using food dye. Work the dye through the clay. This is messy so we recommend using reusable gloves (that you can wash in between each colour). Once the balls dry, the colour does not come off easily.
*Please note: being air dry clay, we advise you cover the balls if you will be doing this activity over a longer period than a couple of hours.
Step 4
Once you’ve dyed your clay different colours, break up each pile into smaller pieces for the individual seed balls. We make our seed balls slightly bigger to support children to effectively participate.
Step 5
Shape each of these smaller pieces of clay into a small bowl or cup-like shape.
Step 6
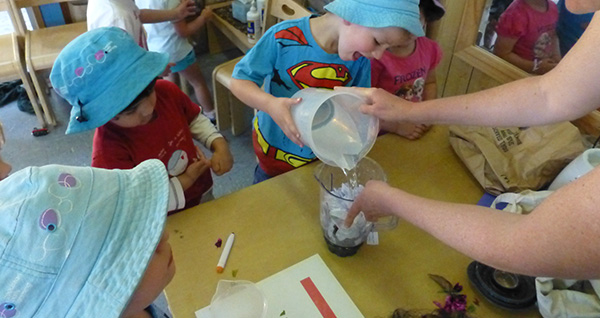
Add your selection of bee-friendly seeds into a small amount of soil and gently mix through.
Step 7
Add a small spoonful of the soil and seed mixture to each of the little clay bowls.
*Tip – don’t overfill the clay bowls with soil mixture as it will be difficult to close.
Step 8-11
Gradually close the clay over the top of and around the soil and seed mixture. Then work this into a ball by squeezing and rolling the clay.
Step 12
Leave the seed balls to dry in the air. This will take 2-3 days depending on environmental conditions (wind, sun etc.). Once the balls are dry, you can plant them yourself, or wrap them up in some plastic-free/reusable packaging to gift to someone special.
Did you try this activity? Share your seed ball creations with us @thelittlesproutsprogram on Instagram or Facebook.